
Navigating The Marketing Tab
Once a campaign has been created, it will appear under the marketing tab in Blueprint. Find the “Marketing” tab located on the very top of the screen, it should appear on the very end next to ‘Fulfillment’.
If the marketing tab does not appear, contact your account admin or IQ support to update user access.
Once in the “Marketing tab”, click the campaign title from the list view to see the individual emails and SMS that are included in the campaign. Open a campaign by selecting it from the list in order to view all emails and SMS messages that are included.
To view the individual emails or SMS, click on each template inside of the campaign. You may need to select “View in Browser” to see the entirety of the email.
How to Attach Marketing
In order for communications to be sent via email or SMS to subjects within jobs, marketing campaigns must first be “attached” manually to corresponding job(s). There are two different ways to attach marketing campaigns to a job within Blueprint.
Bulk Attaching Jobs To Marketing
One way to attach marketing is most often used to attach multiple jobs to a single marketing campaign at one time.This method is best suited for campaigns like seasonal promotions that will target a large number of jobs.
To mass attach jobs to a marketing campaign, navigate to the job’s dashboard within Blueprint.
Within the Blueprint “Jobs” dashboard, select the corresponding jobs by clicking the empty check box to the left of the Job’s ID number. More than one of these may be selected at a single time.
Once all of the applicable jobs have been selected, click on ‘“Quick Edit” button toward the top center-right of the Blueprint job dashboard. (This will only appear once one or multiple checkboxes have been selected.)
Once the Quick Edit menu drops down, scroll down to “Add Blueprint Marketing Campaign”.
From the “Blueprint Marketing Campaign” section, click the down arrow and select the desired marketing campaign(s).
Once the correct in campaign has been selected, click the green “apply” at the bottom of the screen. This will “Sync” the changes made.
Job Level Attaching Jobs To Marketing
Another way to attach marketing to a single job is by clicking into a job and updating the job settings. This method is most appropriate for attaching an initial campaign to a job during the job setup process.
First, navigate to the “jobs” tab and start by clicking on the title of a specific job.
Once open, select the “job settings” gear icon towards the top center of the page, then click on the “Marketing” section.
Next, click the down arrow next to “Blueprint Marketing Campaign” and select the campaign that needs to be attached to the job.
Once the correct marketing campaign has been selected to attach to the job, don’t forget to “Sync” in the top right corner to save changes.
Navigating the Job Level Campaign Dashboard
The campaign dashboard is an incredibly useful marketing tool that can be found within each job and allows users to:
See all emails that have been added to that job via the attached marketing campaigns and gain visibility to upcoming emails/SMSas well as communications that have already been sent to customers within that job.
Send emails that have been designated as “Manual Release” in their release trigger setting.
View marketing analytics for completed communications including; open rates, gallery visits, orders placed through emails, order value, and more across a specified timeline.
Check to see if any emails are currently “unscheduled”
This may indicate that the email or SMS requires a particular field within the job’s schedule to have a value that has not yet been specified.
Opening the campaign dashboard:
Inside a Job, select Tools >Marketing
Setting Custom Dates
Custom Dates are often used in scheduling emails to ensure they are sent according to job specific timelines. These dates can be utilized for a variety of use cases and exist to allow flexibility with particular dates or deadlines within a job. To find out if the emails/SMS included in a specific campaign use a Custom Date field to schedule and send emails, navigate to the “Marketing Tab” and select from the list of campaigns to view what email triggers are being used.
In order to set a Custom Date field:
Navigate to the desired job.
Open the “Job Settings” gear icon and select “Schedule.”
Custom Date 1 and Custom Date 2 should be available to select at the bottom of this page.
Select the desired date by clicking the dropdown menu labeled “Choose a date” associated with the corresponding Custom Date.
Sync the job once a date has been selected to save and schedule emails.
Once synced, navigate to the “tools>marketing” selections to re-access your job’s marketing dashboard and ensure emails are now scheduled based on the newly set custom dates.
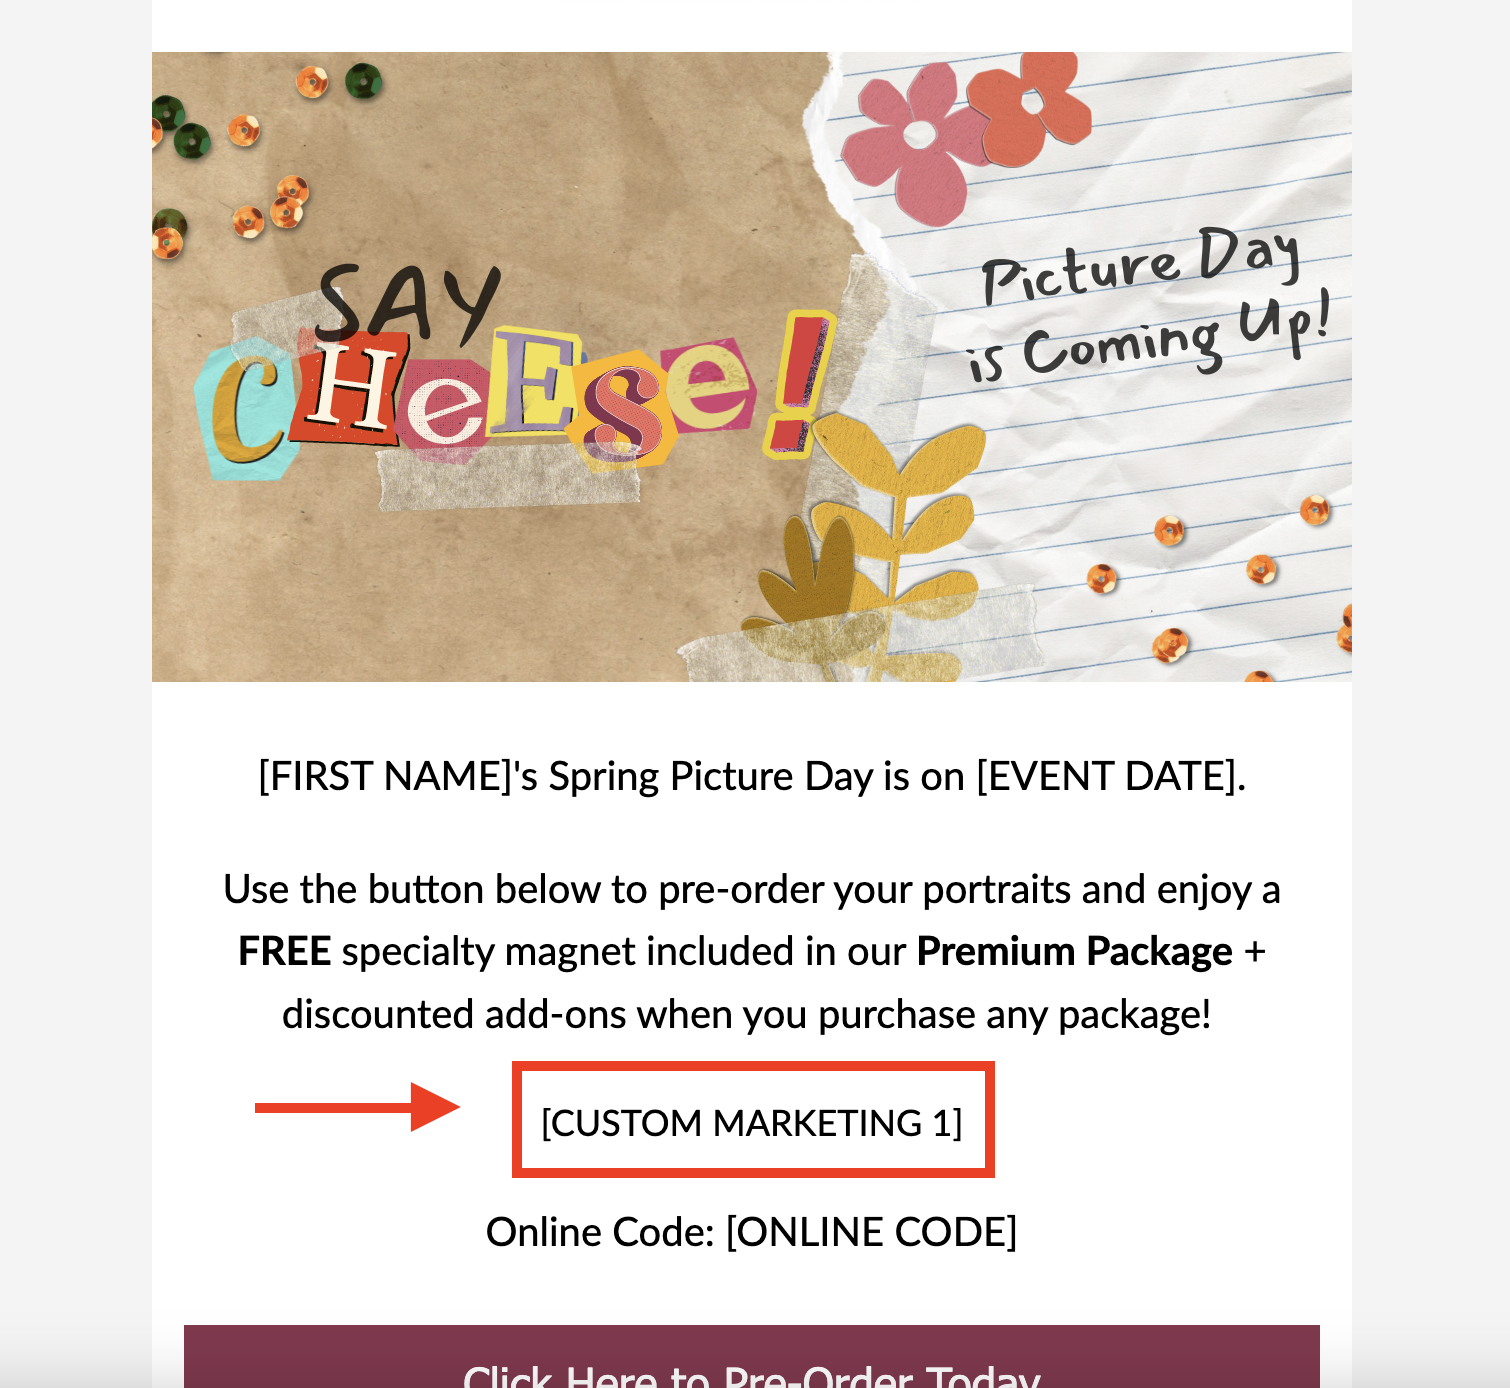
Setting Custom Marketing Fields
Similar to “custom date” fields, custom marketing fields allow studios to input job specific verbiage into a marketing campaign. These exist at the job level, allowing each specific job up to five fields of unique custom marketing verbiage, each with up to 255 characters of alphanumeric input.
Use cases for these dynamic fields arise when unique information is needed for individual jobs. These fields allow you to have one single marketing campaign with dynamic verbiage instead of requiring a new marketing campaign for each job.
In order to set a Custom Marketing field:
Navigate to the desired job.
Open the “Job Settings” gear icon and select “Marketing.”
Up to five Custom Marketing Fields are available to edit on this page.
Input up to 255 characters of verbiage per field.
Sync the job..
Keep in mind, custom marketing fields must be input as a dynamic field by an IQ marketing strategist in order for the input verbiage to appear to the customer. Please consult with a marketing strategist to input any necessary and relevant fields for a job’s campaign.
Sending Communications
Manual release emails and SMS are useful tools that provide studios with more autonomy over when communications are sent to customers. These types of communications can only be sent one time to a job and require a user to manually release it to the marketing queue once ready.
In order to send Manual Release Emails:
Navigate to and open the desired job
Select the “Tools” dropdown menu, then select “Marketing” in order to access the job’s Campaign Dashboard.
On the right, all email and SMS communications that have been added to the job via campaign attachment will appear, including all those designated as “Manual Release” communications
When the Manual Release communication is ready to be sent out, select the green “Send” button next to the name of the email or SMS
This will automatically release the communication into the queue and will be sent to corresponding audience selections accordingly.
Marketing Analytics
Marketing analytics can be found in the Job’s Campaign Dashboard. Analytics will only appear after emails have successfully been sent. The order totals here may appear different from those extracted from the main dashboard of the job. This discrepancy arises because the analytics displayed on this page pertain strictly to orders that were placed directly from a link sent via a marketing email.
Currently, Blueprint does not track SMS analytics beyond the number of Sent SMS. All additional analytics are related only to email marketing.
Set the date range to the appropriate timeline.
Open Rate % is # Opened EmailsTotal Sent Emails
Click Rate % is # Gallery VisitsTotal Sent Emails
Gallery Visits is the number of customers who entered their gallery directly from the link included in the email.
Average Order is the average value of orders placed via email marketing.
Other helpful analytics include the number of sent Emails and SMS, the number of emails that have been opened, the number of customers who have clicked the link to enter their gallery, the number of total orders and where that total order value currently stands.
Gallery Visits and Clicks will only differ if the link included in the email does not take them to their gallery, for example in a senior portrait booking campaign the link would take them to where they need to sign up for an appointment. This would be logged as a click but not a gallery visit.